Showing posts with label Christmas crafts. Show all posts

Saturday, November 26, 2011

A day of country crafts!

Each year my mom and I go to the Genesee Country Village & Museum for their annual Christmas Craft day.  This year they changed it up a bit, I liked most of it.  We had a good time. 

We made...or attempted to make:

Our first station was making paper stars.  I loved the way these looked!!  But my fingers just did not let me fold the paper the way it was supposed to be folded.
I am bound and determined to make these stars.  I love them.  I know once I do it they will be easy.

I felt so bad for our "teacher". No one showed her how to make these stars and was expected to teach us.  I thought she did a great job!!  AND she smiled through the whole thing.

Next we made my favorite!!  Scented Sachet bags.  There was rosemary, pine, cinnamon, dried orange peels and rose hips in them.  As well as a couple of drops of essential oil.  OH my does this smell good!!


Another favorite was stringing cranberries, walnuts and bay leaves.  This smells SO good as well.  I have it hung up in the kitchen.

While we were stringing these up we thought of other combinations we might do.  Orange peels, apples, cinnamon sticks....oh my the list goes on and on.

Next we made clove studded oranges.  I didn't take pictures of the during process because it was too sticky!  Last year we covered the whole orange in cloves.  This was much easier!!

Next we made an orange basket out of an orange peel.  I filled mine with cinnamon, and cloves when we got home.  Smells Divine!

After completing the crafts some of the village houses were open for us to see winter preparations.

Preparing chestnuts to be roasted.

My mom got to try her hand at roasting chestnuts.

They were showing us how they sewed the winter clothing.  Made out of wool. 

Here we were able to see sausage making and taste homemade applesauce.  The sausage making kind of grossed me out.  When I say they made it fresh....I mean they made it fresh!  Next picture is NOT for the weak stomachs!

Fresh sausage...eventually will be ham, and bacon.

Here this young man is splitting wood.  I think he is making fence posts.

I now leave you with my favorite picture of the day.  This basket of knitting.  In a few weeks we will be going on our yearly Yuletide Tour.  I'm SO looking forward to this.  I absolutely love the Genesee Country Village & Museum.  But if you've been a reader for any length of time you already know that!!

The only suggestion I have to make for this craft day is...do not try and cram 50 plus people into a small building.  We had no room to move, we were shoulder to shoulder.

Tuesday, October 25, 2011

Canning Jar Potpourri Warmer


The weather is getting cold here in NY.  So when that happens I start to get into the holiday mode.  This time of year is my favorite!  Thanksgiving, CHRISTmas and New Years.  Each day I realize more and more how much I have to be thankful for.  My family is amazing.  My husband works so hard to provide for our family.  The list goes on and on.

When it's cold outside I love the soft glow of candles.  But it is not always possible to have a candle going.  Or if you are like me...I will sometimes forget to blow out the candle.  Last year at a ladies craft day at church my Mom demonstrated how to make the jar above.  I have a ton of canning jars that I can not use anymore for canning.  So I thought I'd make one of the above jars to give away at CHRISTmas and just because gifts.

So here you go:
Gather your supplies.  Jar, CHRISTmas lights, potpourri, doily.


Start by pouring some of the potpourri into the jar.


Then start placing the lights into the jar.  Add more potpourri into the jar in layers.  Alternate until the jar is full.


I also use a wooden spoon to gently push the potpourri into the jar.  It also helps to arrange the lights.


Place the doily over the top of the jar with the cord sticking out.  I just put the cord through one of the holes.  Place the screw band on to hold doily in place.  Add a ribbon if you like.  I love the soft glow of the lights.  I have one in each room of the house.  These last for so long.

Seeing these jars lit up is so warm and welcoming to me.

Monday, November 15, 2010

Crafts 19th Century Style

If you've been reading my blog for sometime, you will know how much I love going to The Genesee Country Village and Museum.  This past Saturday my Mom and I went to their craft day.  OH did we have fun.  I was pleasantly surprised at how many children there were this year.  Perhaps I'll take our children next year...not sure about that.  This is something my Mom and I do together.

The tables were set up into stations where you made a different craft.  There were 6 over all.

First we did the Apple Spice Sweet Bags.  This is the scent of Christmas in a small package.

First we put all the ingredients into a mortar and pestle.  Gently crush the ingredients.


Put half of the mixture onto a piece of fabric.  Gather and tie with a ribbon.  I'd post the recipe but I haven't asked permission of the museum.

Next up was turning tin into an ornament.  I should of worn my finger protectors!! We had to hammer a nail into a pattern on the tin.

Below you can see the pattern before we started.  I enjoyed this, but when you have many people at the table it is difficult to hold your hand steady while hammering.  The nail would move and then ouch!  LOL!


Our wonderful instructor.


Next up was the teacup quilt.  This was SO easy.  I'm not very good at sewing (yet).  But I hope to find someone willing to teach me.  This was made out of 5 squares of fabric.  I'm planning on making some of these to give a way as gifts.


This was our VERY patient instructor.  I also found out she is homeschooled!  Hmmm maybe I can take lessons from her...LOL!


This finished product!!  These were so easy to make.  I can't wait to visit the craft store and pick up some fabric to make more.


Next up were peanuts on a string.  These are SO cute.  I have many different ideas running through my head on what I could put in the paper instead of peanuts....small toys, candy ect.  I even thought of making it into an Advent string.  One for each of the kids with scripture in it and a small surprise.


The finished string.  I just think these are so cute!  One problem that might arise is our cat may think it's a toy...LOL!


You might think Mom and I go to the craft day for the crafts!  But we really go for this WONDERFUL soup...Butternut Apple Soup!  OH my I've never tasted anything as good.


Next were these adorable painted snowmen.  I could of chosen to do a santa also, but I liked the snowmen.  These were just cinnamon sticks that we painted.  So simple.  I'm making some of these to give out as well.  So if your on my Christmas list....just pretend to be surprised! :-)

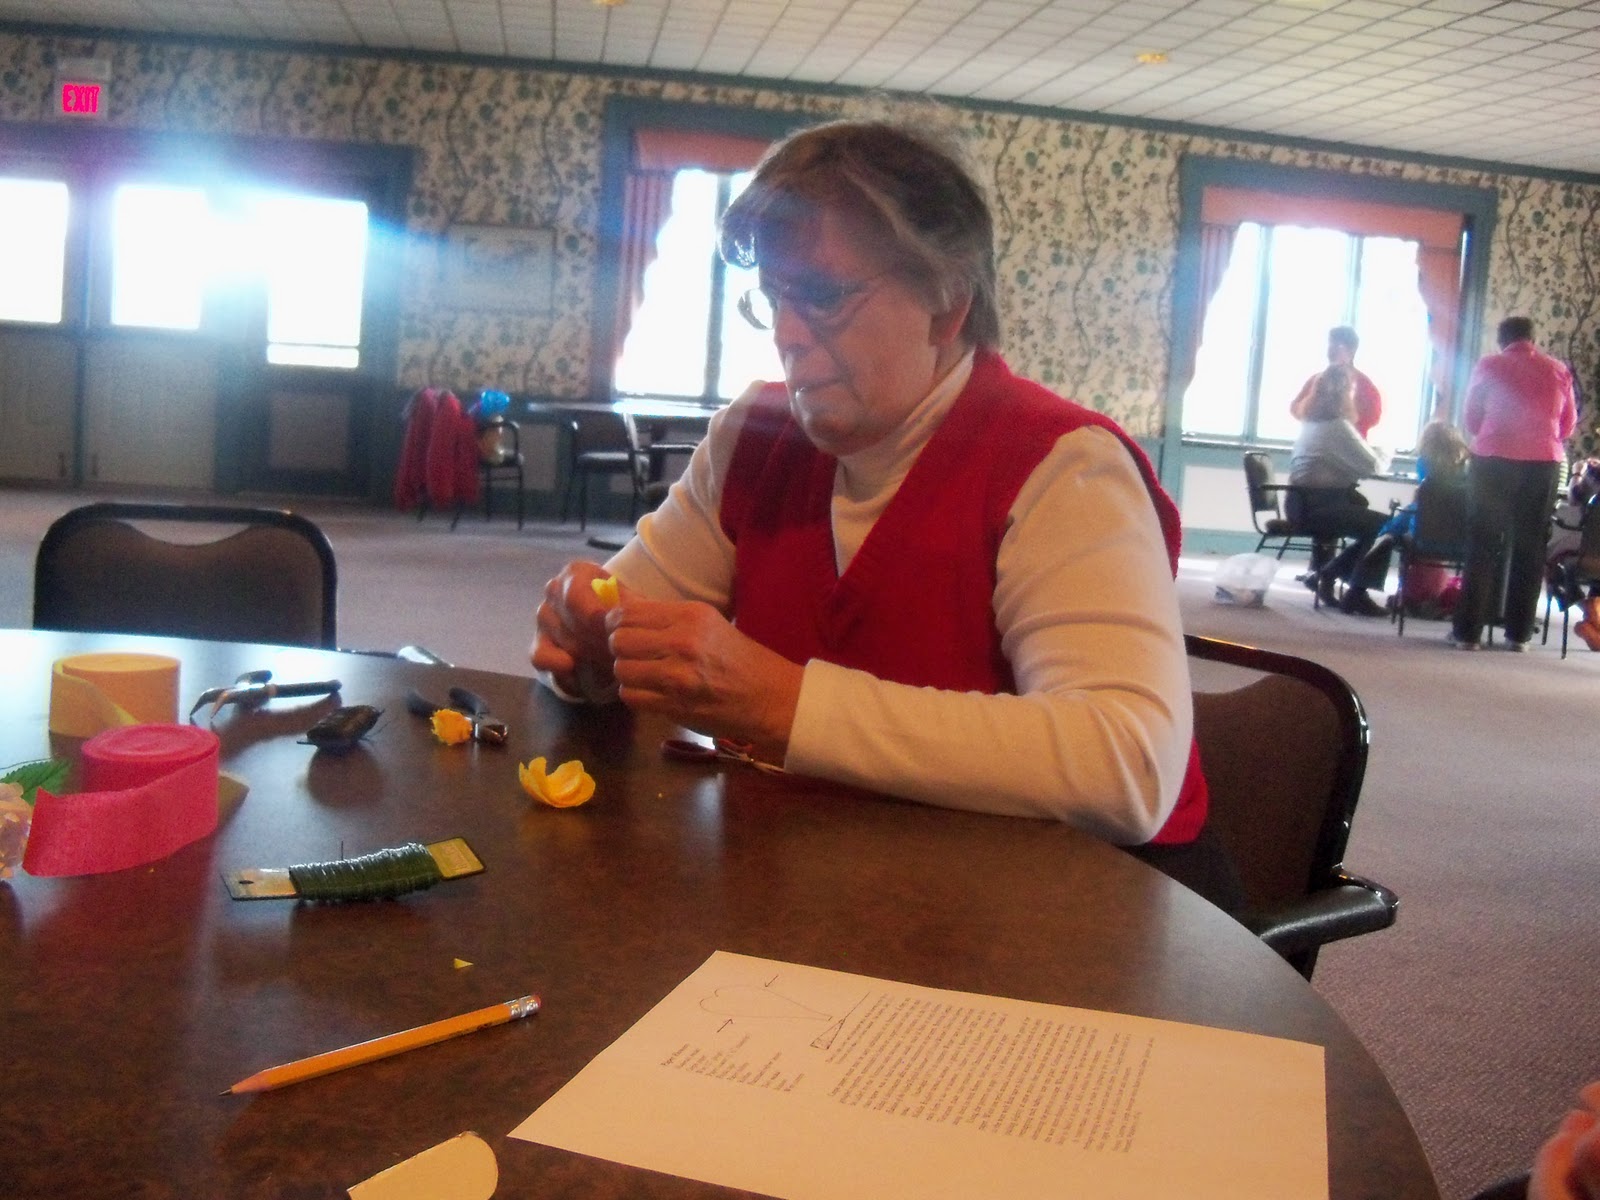
This is our last craft.  Paper roses~~or tussy-mussy as they were called in the 19th century.  They were made from crepe paper...how neat is that?!  This took some finger strength, but I love how it turned out.

This was our instructor for the flowers.

I hope you enjoyed this post as much as I enjoyed making the crafts.   The museum even has a blog now go HERE to check it out.

In just 5 weeks hubby and I will be going on a Yuletide tour at the museum!  I can not wait!!  It is something we look forward to ALL year.  We missed the last 2 years and made it a point to register early.  So you can be sure I'll be doing a post or 2 about our tour!!

picture from the museum website

I'm telling you if you ever come to western NY you HAVE to visit the Genesee Country Village and Museum!!  Better yet come here JUST to visit the museum.  Come and see all our area has to offer!

Saturday, November 14, 2009

Crafts 19th Century Style

Today my Mom and I went to our favorite local living history museum and made 6 crafts all for $20. We had such a good time. Click on the link and it will take you to the website.
The first one is a marzipan hedgehog. Isn't he just the cutest thing???! This little guy was made out of almond paste (you can find this in most large grocery stores) with cloves for the eyes and nose. Sliced almonds are the spikes in the back.
This is the other side of him, shows all the almonds. People of the 19th century used marzipan for decorating cakes, and for all types of decorations. I've seen small fruits made out of this.

This is a pomander ball. It is an orange covered with cloves. We took a nail and pierced the orange and pushed the cloves into the hole. Beware if you try this your fingers will hurt..LOL! Then we took cinnamon, cloves, nutmeg, allspice and orris root (used to bind the spices all together) and we rolled the orange in it. As the orange dries out it will shrink holding the cloves in place for years to come. The lady that taught this craft had hers for 20 years. I love the smell in the house as I type this...so much like Christmas!!

This one is a tin ornament. It is a star with the current year underneath. This was a lot of fun also. You used a hammer and nail to make all the small holes.
This is our santa dollpin (clothes pin) ornament. He was made with felt and pipe cleaners for his arms. This took us a while to make because we had to wait for the glue to dry.

This is my bird ornament made out of an old wool blanket. I like the simplicity of this. I'm going to try and make more of these.
This is a Christmas cornucopia. Children in the use to make these to hang and get treats in. The picture is of a horse drawn sleigh.