
Recently I have been enjoying a series of YouTube videos by Misty Prepper. In one of her videos she talked about a bread bucket. I was very intrigued by this. I had never heard of it before. So I started searching the internet in search of what it was.

WELL you all know how much my husband loves to spoil me! He found a bread bucket at Lehmans! I just love that store!! It is not made of stainless steel, but I love it just the same.

You can mix the dough and let it rise right in the same bucket. I choose to place it in my normal bread bowl to rise. That frees the bucket up to make more. (smile)
.JPG)
Now for the bread recipe I promised you. This is just a basic bread recipe. The above recipe is just a simple bread dough. Instead of dividing it into two I just shaped it into a rustic Italian loaf.
Simple White Bread
1 1/4 cup warm water
1 Tablespoon instant yeast
1 Tablespoon sugar
1 Teaspoon salt
3 cups of unbleached white flour
1 Tablespoon olive oil or melted butter
Sprinkle the yeast over the warm water in a small bowl. Let the yeast "proof" or sit for about 5 minutes.
In a large bowl add the sugar, salt and flour. Stir until mixed well. Add the oil and yeast mixture. Stir until the dough comes together.
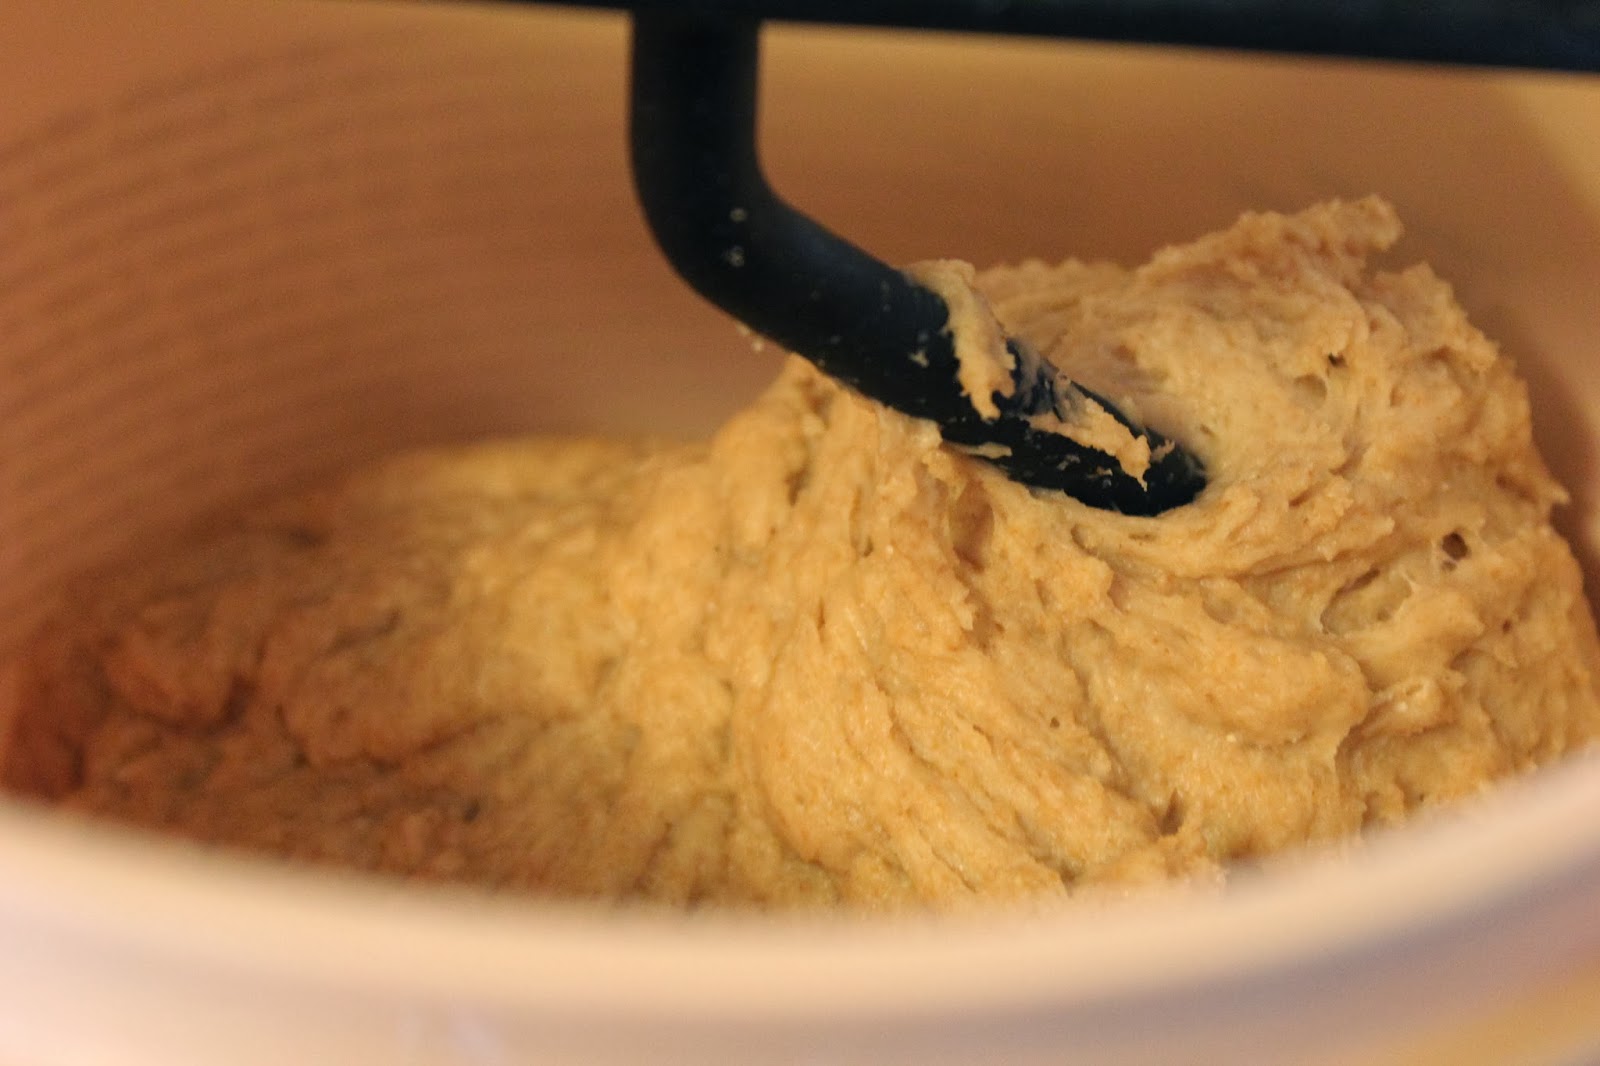
It will look a little like the picture. It might be a little smoother. Once it looks somewhat like this place the dough into a lightly greased bowl, turn to coat the dough. Lightly cover with a kitchen cloth or plastic wrap. But make sure it can breath by leaving it open a little. A little tip I have when allowing my dough to rise is place a heating pad under the bowl on low. This is an almost fail proof way to get your dough to rise properly. Once the dough is doubled in size you are ready for the next step.
Punch the dough down. This is just a gentle deflate of the dough. Turn the dough onto a floured board or counter. At this point if you are making this into loaves, divide it into two equal parts. Spray 2 loaf pans with cooking spray, or rub oil onto the pans. Shape the dough into little logs. Place them into the bread pans. Let them rise for about 10 minutes. At this time you can preheat your oven.
OR if you want just an Italian bread loaf you can shape it into a long loaf like in my picture. Place the loaf onto a baking sheet covered with parchment paper. Let this rise for 10-20 minutes.
Place the loaf into a 375 degree oven for 25-30 minutes. You will know the bread is done by doing a simple test. Tap on the loaf, if it sounds hallow it is ready!

Rubbing the outside of your bread with butter will help keep it nice and soft. Enjoy!
3 comments:
Yum! I have never heard of a bread bucket either. Must go research! :) Blessings!
I Love watching Misty Prepper videos...
I have never heard of a bread bucket either, but now I need one LOL
Post a Comment